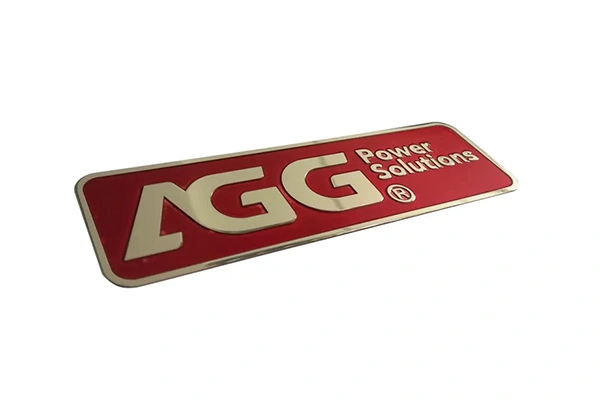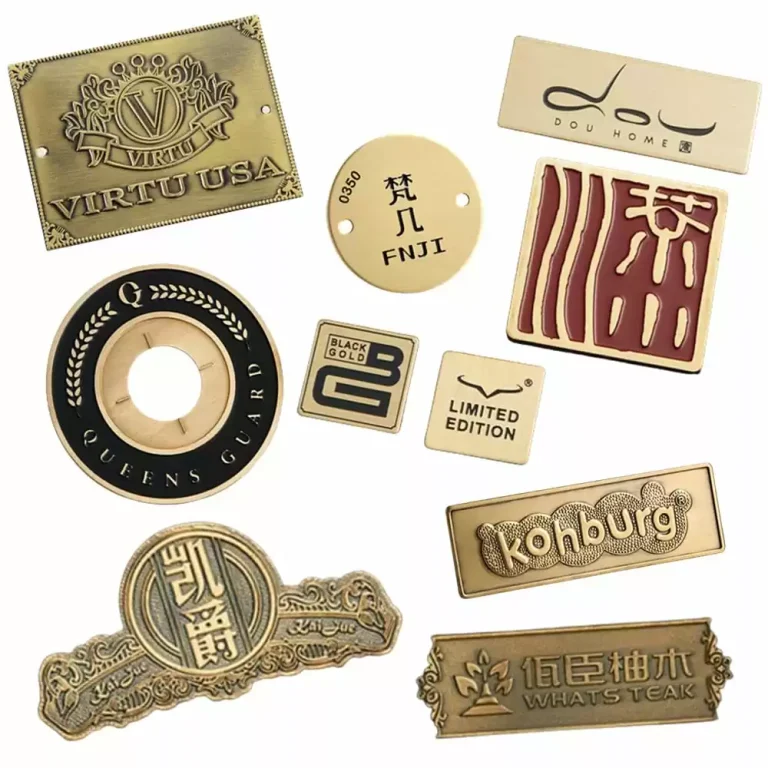
Himgo delivers high-quality, cost-effective metal nameplates for you.
1. Introduction
Applying adhesive metal labels may seem simple, but proper application ensures maximum adhesion and long-term durability. Whether your labels are used on machinery, electronics, automotive parts, or promotional products, following the correct steps prevents peeling, lifting, or premature wear.
![]()
2. Why Proper Application Matters
Prevents premature failure – Poor application leads to edge lifting or complete detachment.
Maximizes adhesion strength – Correct surface prep allows adhesives to fully bond.
Enhances product appearance – Neat application maintains a professional look.
Improves durability in harsh conditions – Especially important for outdoor or industrial use.
3. Tools & Materials You’ll Need
Lint-free cloth or microfiber cloth
Isopropyl alcohol (70% or higher)
Application squeegee or roller
Measuring tape or ruler
Masking tape (optional for positioning)
Heat gun or hair dryer (optional for curved surfaces or cold conditions)
4. Step-by-Step Application Process
Step 1: Clean the Surface
Remove dust, oil, grease, and moisture using isopropyl alcohol.
Avoid using household cleaners containing wax or silicone.
Step 2: Ensure a Smooth, Dry Surface
Labels adhere best to smooth, flat surfaces.
If the surface is rough, consider sanding or applying a primer.
Step 3: Position the Label
Use masking tape to mark alignment points.
Double-check placement before peeling the backing.
Step 4: Apply the Label
Peel off the backing without touching the adhesive.
Press from one edge to the other to avoid air bubbles.
Step 5: Secure with Pressure
Use a squeegee or roller to press firmly.
Apply even pressure for at least 30 seconds.
Step 6: Allow Adhesive to Cure
Avoid moving or touching the label for 24–48 hours.
For best results, apply at temperatures between 60–90°F (15–32°C).
![]()
5. Tips for Special Applications
Curved Surfaces – Warm the label slightly with a heat gun for flexibility.
Outdoor Use – Choose UV-resistant and weatherproof adhesive metal labels.
High-Temperature Environments – Use heat-resistant adhesives to prevent softening.
6. Common Mistakes to Avoid
Applying to a dirty or oily surface
Rushing the curing process
Not applying enough pressure
Using in extreme cold without pre-warming the label
7. Maintenance After Application
Clean gently with mild soap and water.
Avoid abrasive cleaners that could scratch the metal surface.
Check periodically for edge lifting, especially on high-contact areas.
9. Conclusion
Applying adhesive metal labels correctly is a simple yet crucial step to ensure they remain securely attached and maintain their appearance for years. With proper surface preparation, positioning, and curing, you can trust your labels to perform even in challenging environments.