Himgo delivers high-quality, cost-effective metal nameplates for you.
Metal stickers add a premium, durable touch to electronics, packaging, appliances, and more. But to get the best visual and functional result, proper application is key.
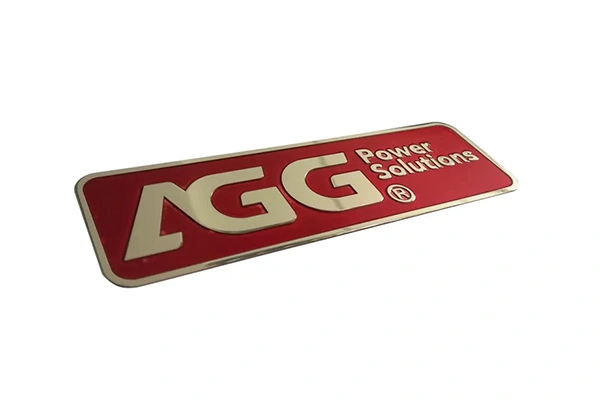
Whether you’re applying custom metal logo stickers to your products or using metal label stickers in industrial environments, here’s a step-by-step guide to help you do it right—every time.
![]()
✅ Why Proper Application Matters
Applying metal stickers incorrectly can lead to:
Misalignment or poor positioning
Air bubbles or creases
Reduced adhesive strength
Shorter lifespan under temperature or moisture exposure
👉 Taking a few extra minutes during application ensures your sticker stays sharp, clean, and secure for the long haul.
🛠️ What You’ll Need
Clean, lint-free cloth or alcohol wipes
Measuring tools (ruler or template, if alignment matters)
Squeegee or plastic card
Gloves (optional, for avoiding fingerprints)
A steady hand and a bit of patience 😉
📦 Step-by-Step: How to Apply Metal Stickers Like a Pro
1. Clean the Surface Thoroughly
Wipe down the application area using alcohol wipes or a damp cloth to remove dust, oil, or grease.
Even invisible particles can affect adhesion.
Tip: For textured or matte surfaces, pay extra attention—metal stickers need full contact for long-lasting grip.
2. Position the Sticker Without Peeling Yet
Before removing the backing, place the sticker gently on the surface to check positioning.
Use masking tape or a light pencil mark to guide alignment if needed.
📏 For multiple stickers or logo placement, using a printed alignment guide can help with accuracy.
3. Peel Off the Backing Slowly
Hold the edges and gently peel back the adhesive liner.
Avoid touching the adhesive surface directly with fingers to maintain bond strength.
4. Stick from One Edge and Press Gradually
Start from one side or the center, pressing down gently and evenly across the surface.
Use a plastic squeegee or card to apply light pressure and push out any air bubbles.
💡 Metal stickers don’t stretch like vinyl—they need smooth, flat surfaces to sit properly.
5. Double-Check Edges & Corners
Make sure all corners are fully pressed down. If needed, apply extra pressure with a clean cloth.
6. Let the Adhesive Cure
Allow the sticker to bond with the surface for 24 hours before exposing it to heat, water, or heavy handling.
Full bond strength is typically achieved after 48–72 hours depending on adhesive type.
🔍 Best Surfaces for Metal Stickers
| Surface Type | Compatibility |
|---|---|
| Smooth plastics | ✅ Excellent |
| Coated metals | ✅ Excellent |
| Glass | ✅ Good |
| Wood (sealed) | ⚠️ Varies |
| Textured plastics | ❌ Not ideal |
🧴 What Kind of Adhesive Do We Use?
We use high-strength pressure-sensitive adhesives (PSA) suitable for metal bonding, including:
3M 300LSE
3M 467MP
Custom options for curved or high-temperature surfaces
👉 Learn more about adhesives used for our metal stickers
💡 Bonus: Application on Curved Surfaces
Metal stickers can also be applied to slightly curved surfaces if:
The sticker is thin (≤0.2mm)
Proper pressure is applied
The adhesive is engineered for flexibility
If your project involves complex surfaces, talk to our engineers for tailored solutions.